Venting The R2
An inadequate ventilation setup can cause the R2 to have a lot of issues, potentially damaging the R2 and voiding the warranty. Please ensure that your ventilation setup is functioning properly following our recommendations.
Open Ventilation Setups
An open ventilation setup is easier to manage. Additionally, you won't risk interfering with the R2's internal airflow.
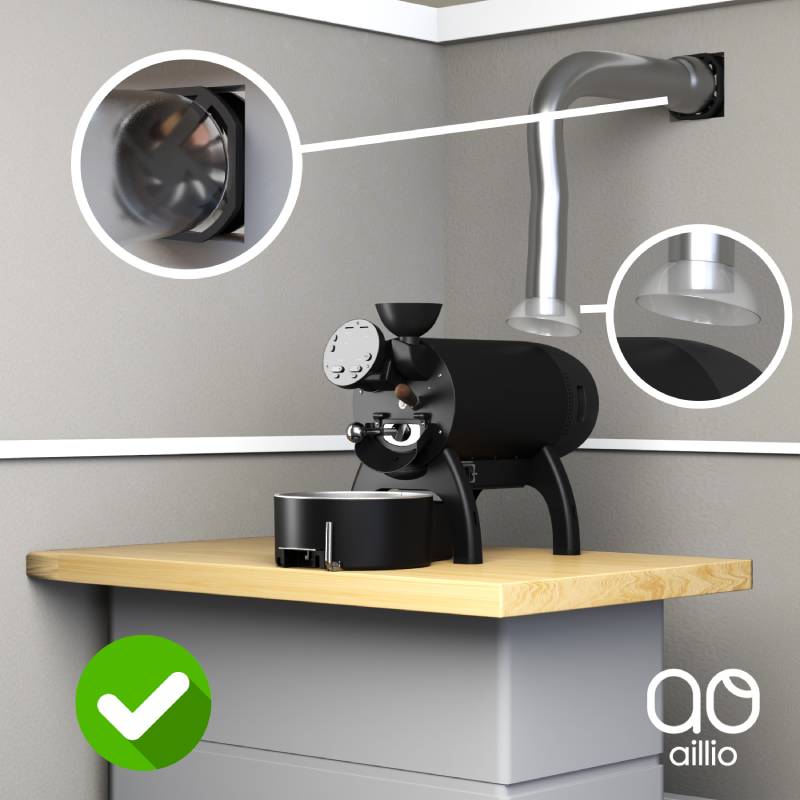
The example illustrated above is ideal. An active fan pulls air out from the ventilation tube, so the R2 is less susceptible to unexpected backdrafts.
Another important factor is the gap between the ventilation tube and Exhaust Port, which ensures that the R2's airflow remain unaffected.
Sealed Ventilation Setups
A sealed venting solutions can sometimes create problems, regardless of active (with a fan) or passive venting.
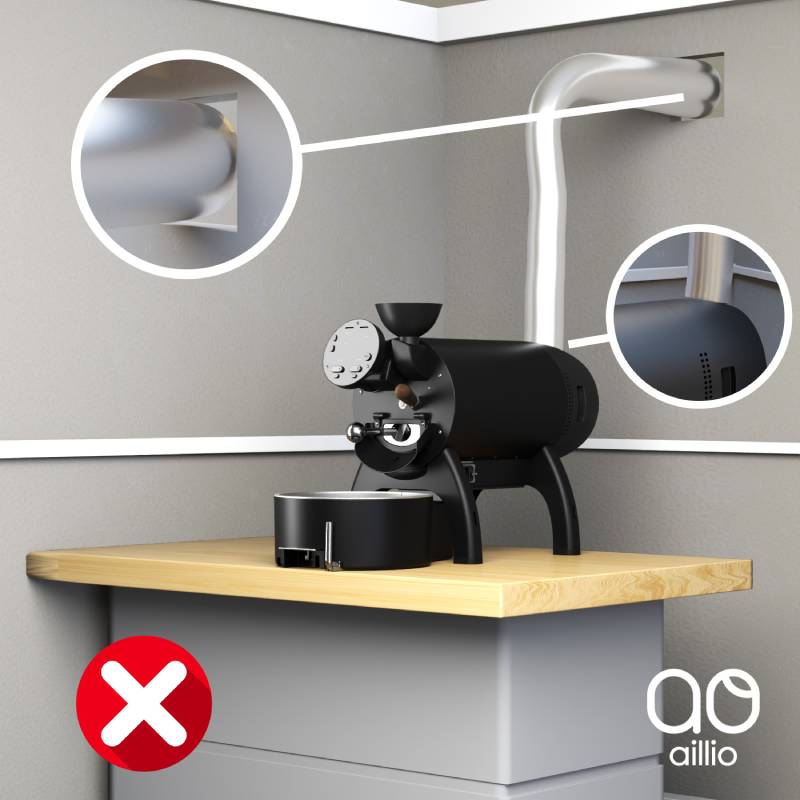
In the example above, the sealed, passive ventilation tube connected to the outdoors is susceptible to backdrafts. The chaff, heat, oil, and moisture are forced to come out of the Front, potentially leading to the following issues:
- Inconsistent roasts.
- Frequently dirty IBTS Lens.
- Condensation in the Control PCB Module and Back Assembly.
- Overheating issues.
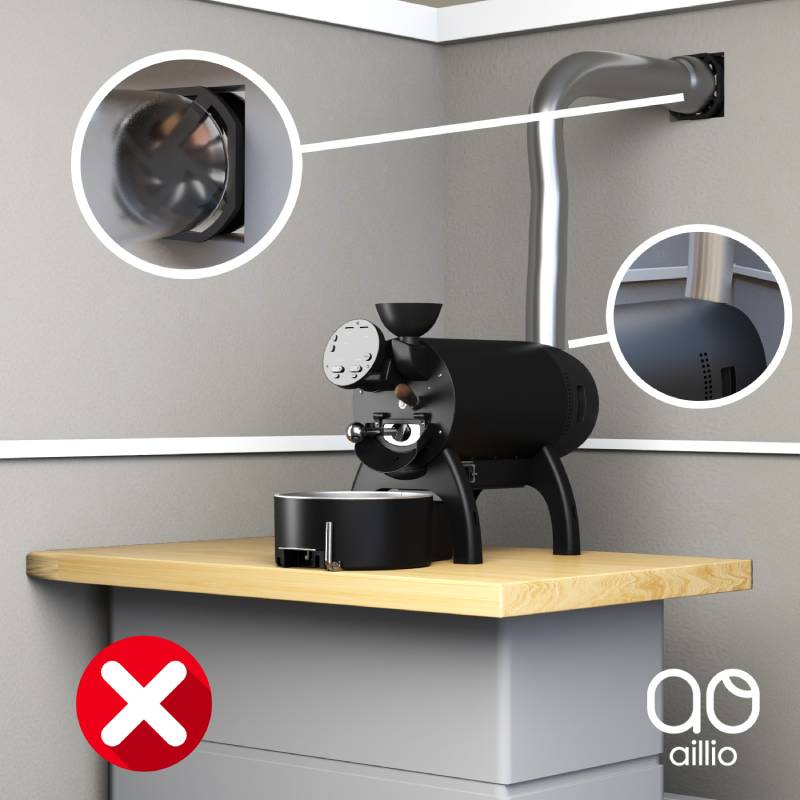
In the next example, the sealed, active ventilation setup may pull too much air out of the R2 when it is running. This, too, can affect the airflow within the R2 and lead to inconsistent roasts.
Partially Sealed Ventilation Setups
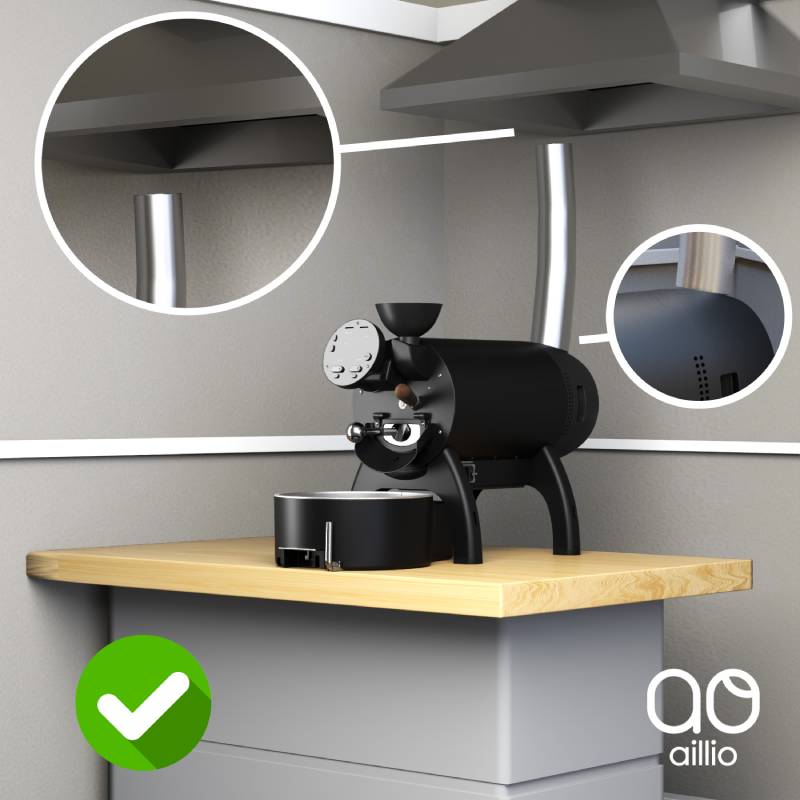
The picture above illustrates another proper way to vent the R2 using a partially sealed connection with an oven hood. This setup works well for light roast. The sealed connection does not cause issues, as it is neither venting directly to the outside nor pulling a lot of air from the Drum. However, this setup will not work with long tubing — keep it less than 2.5m.