Control Module Update
Step 1: Downloading the firmware
Find available versions here R2 firmware files.
Step 2: Updating the Firmware
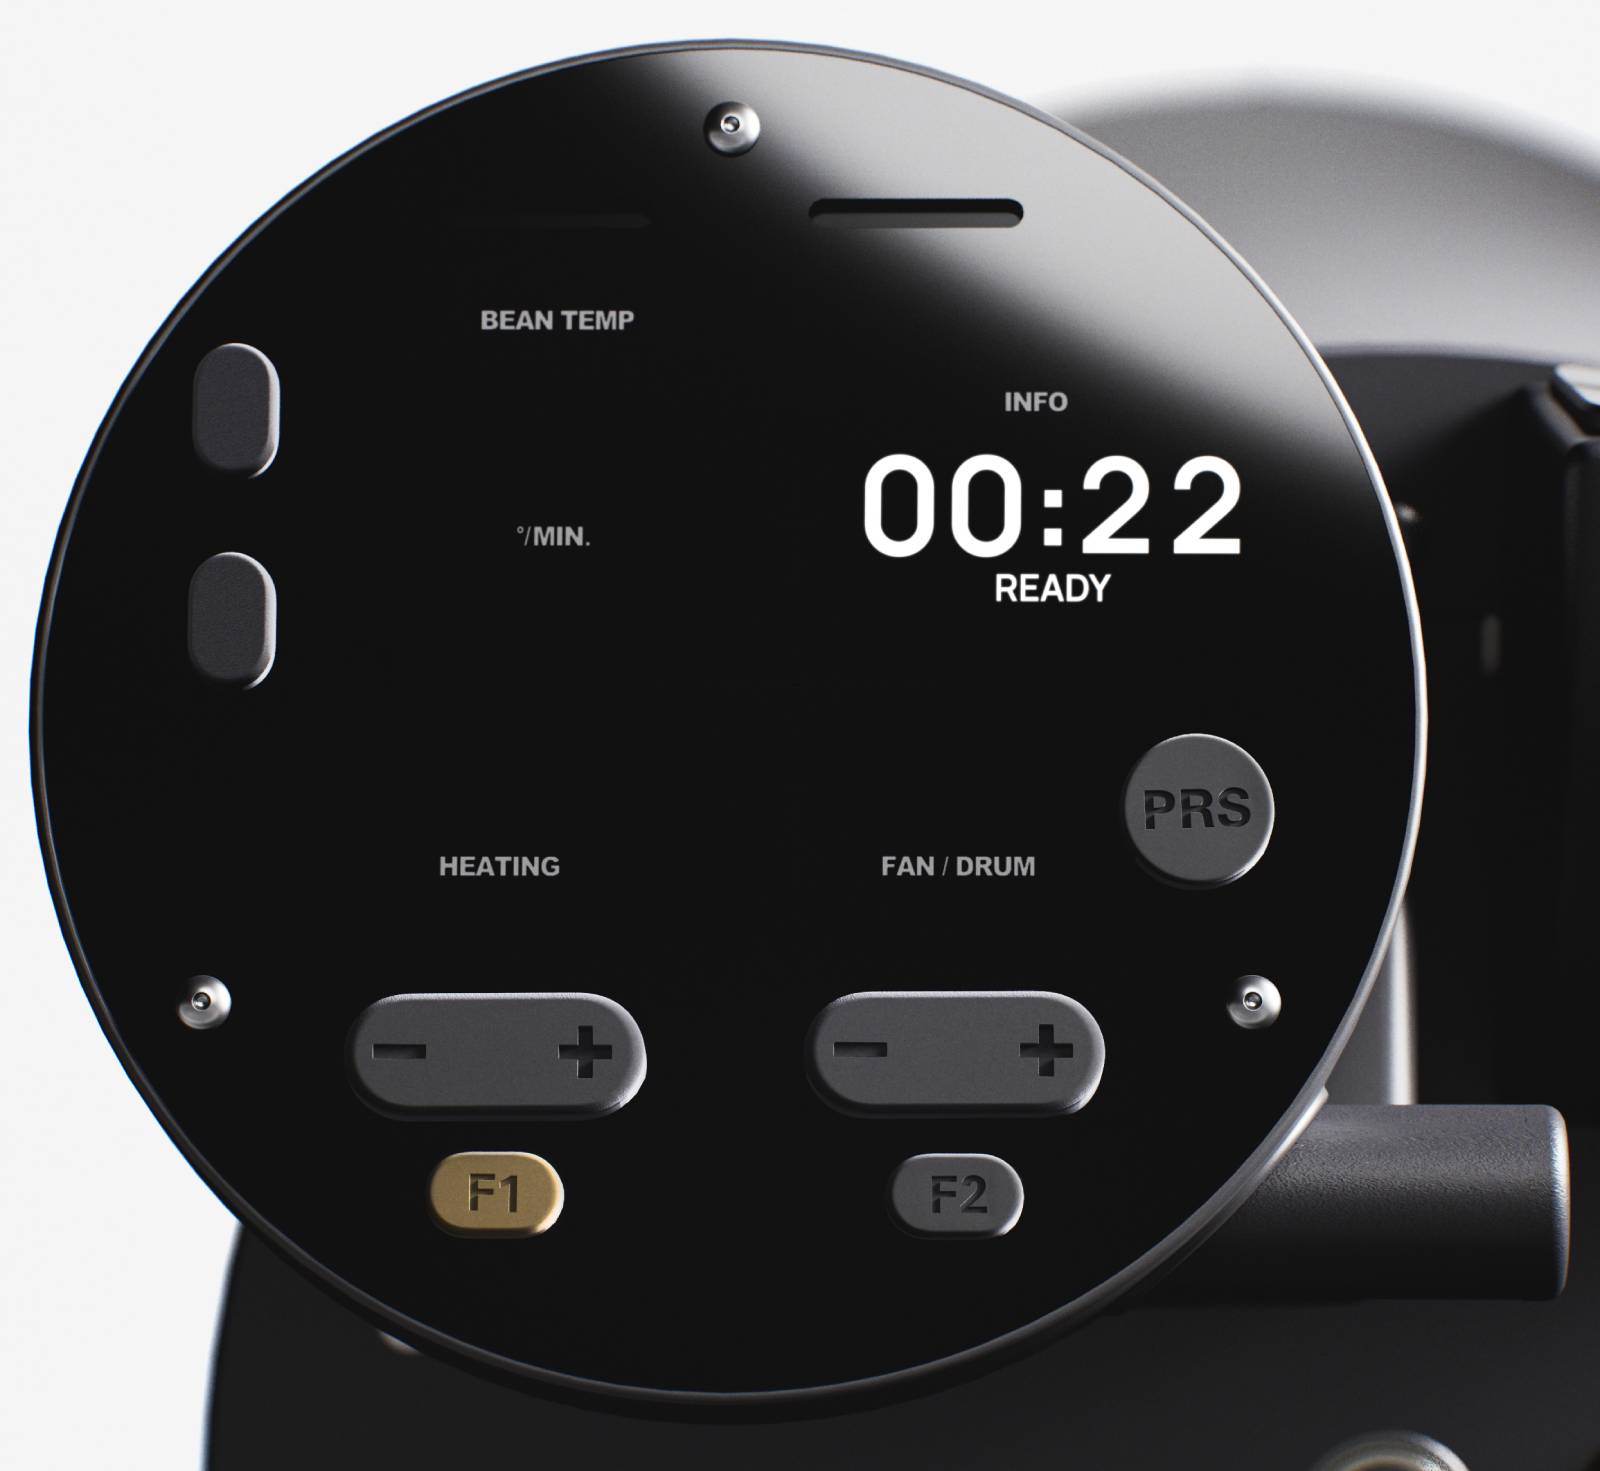
1. Start the R2. Make sure the R2 is in Ready Mode.
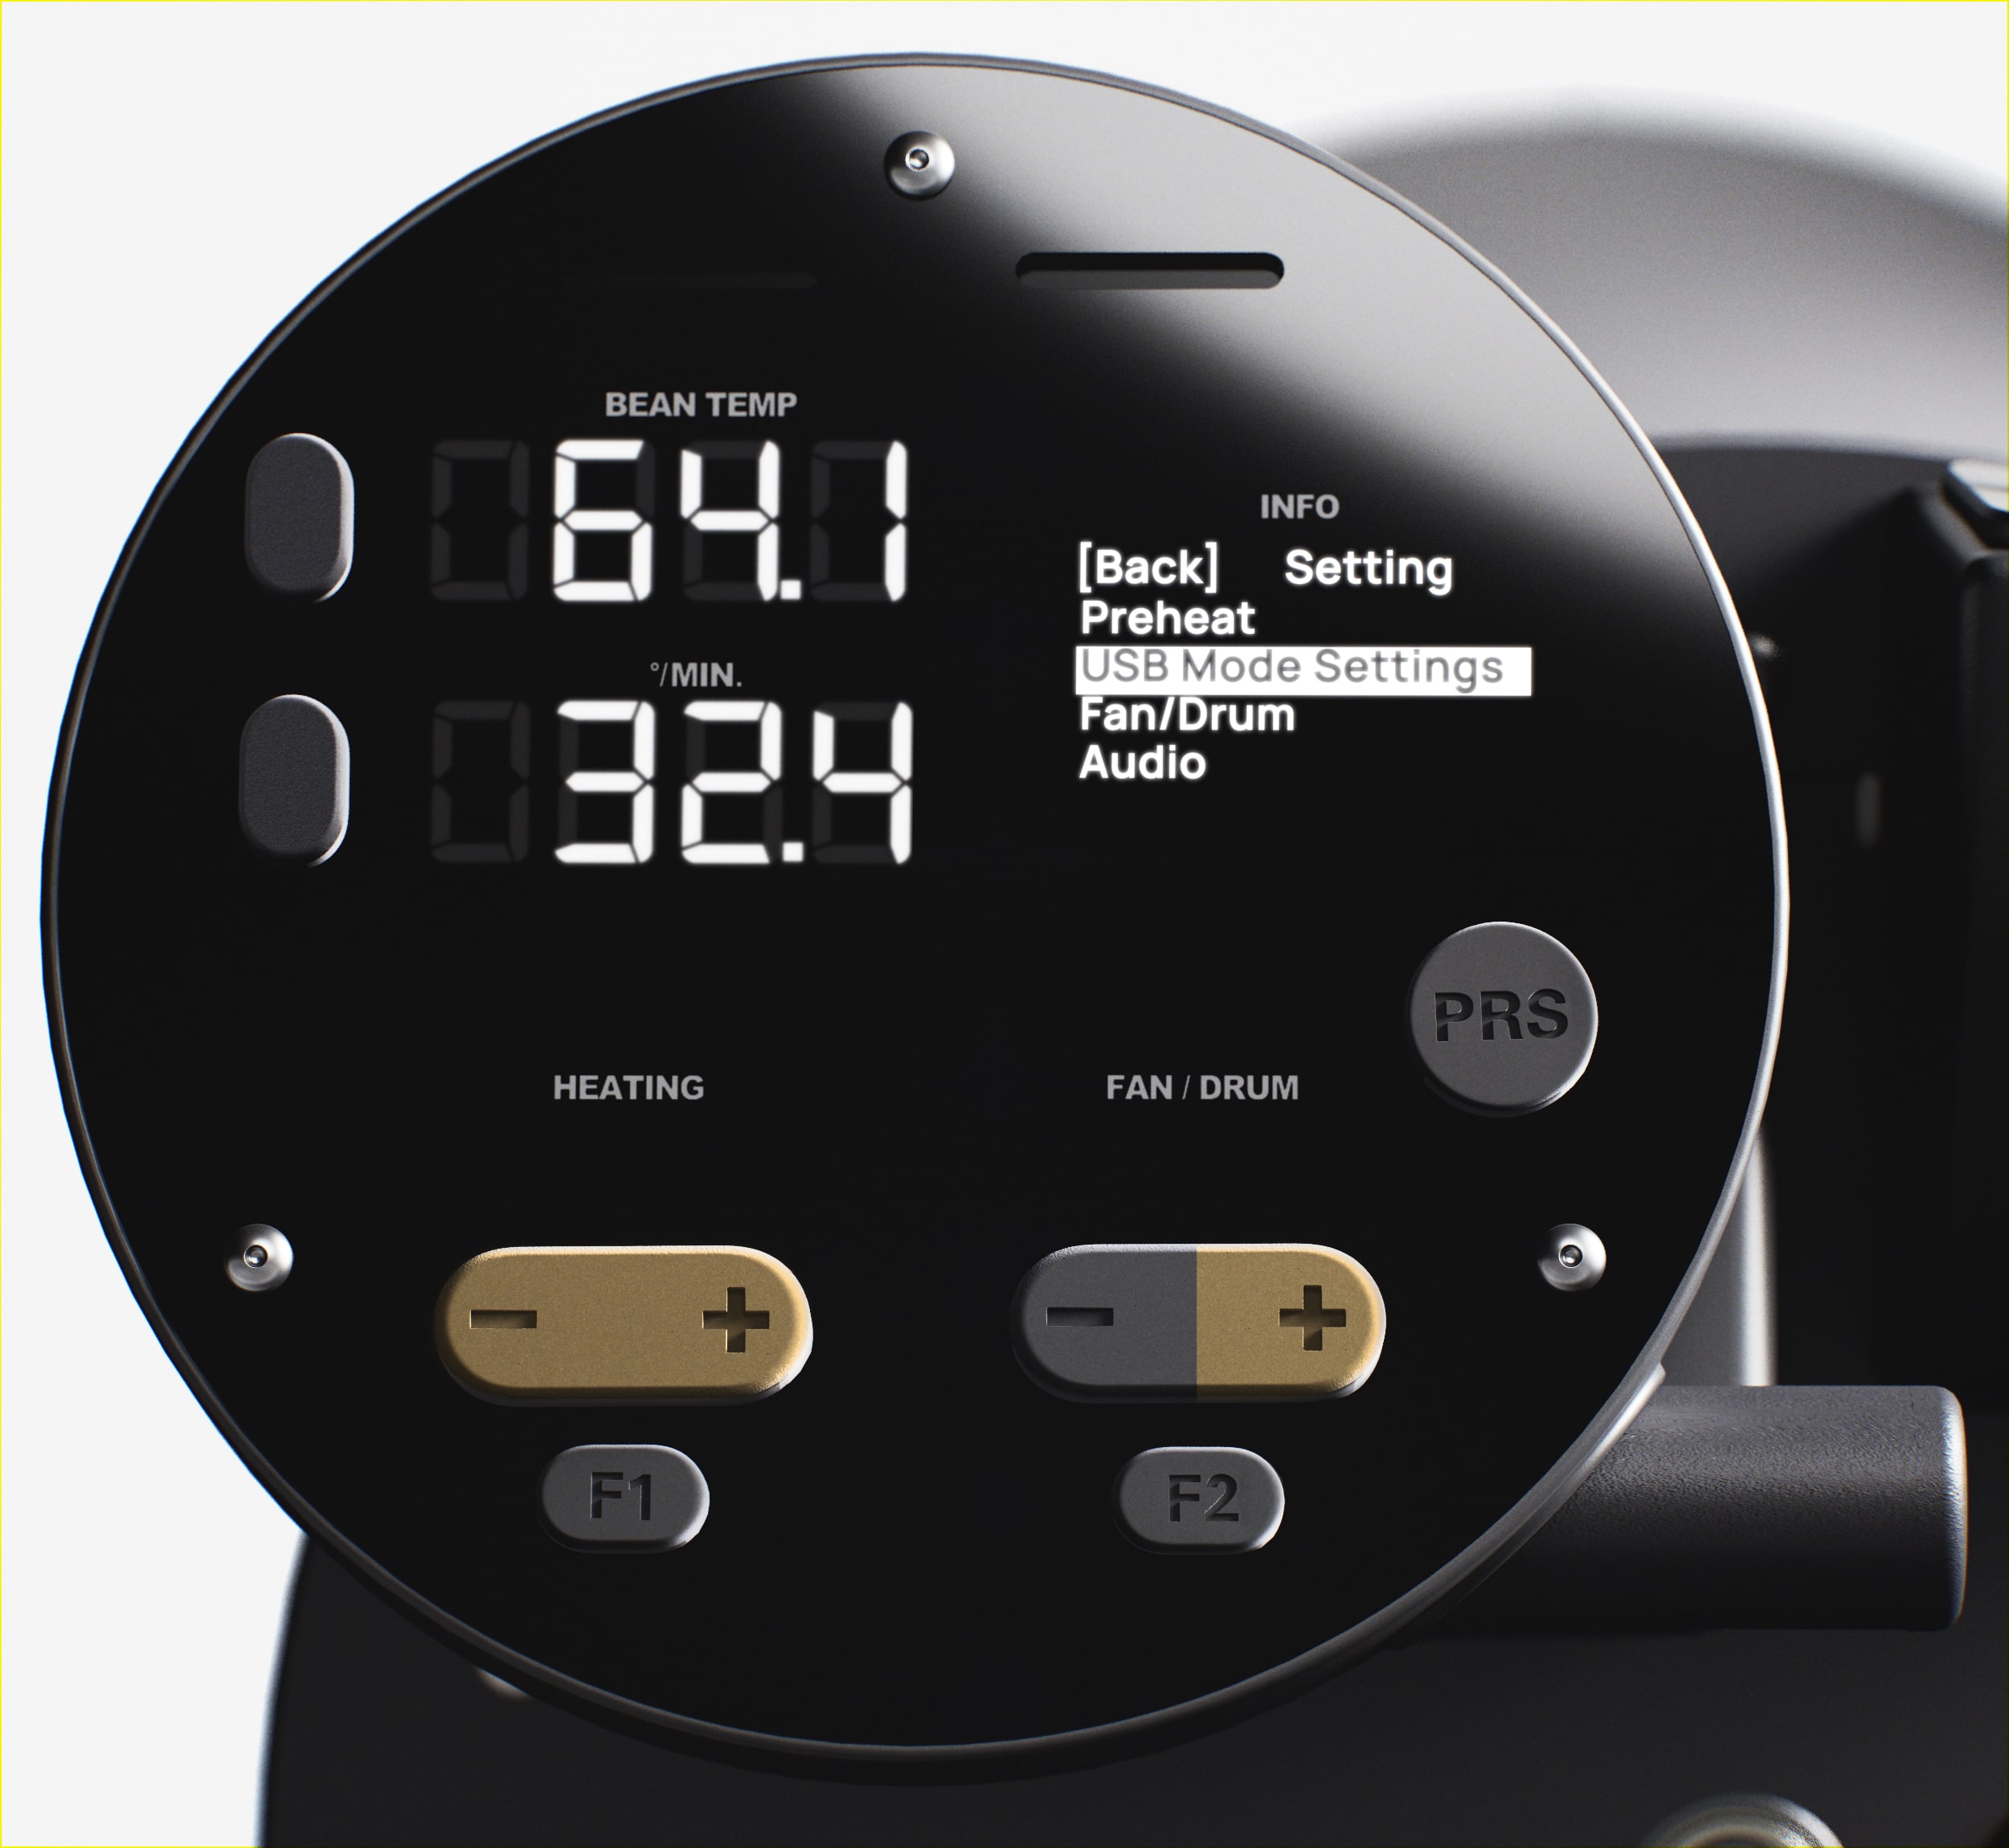
2. Press F1 to access the Menu.
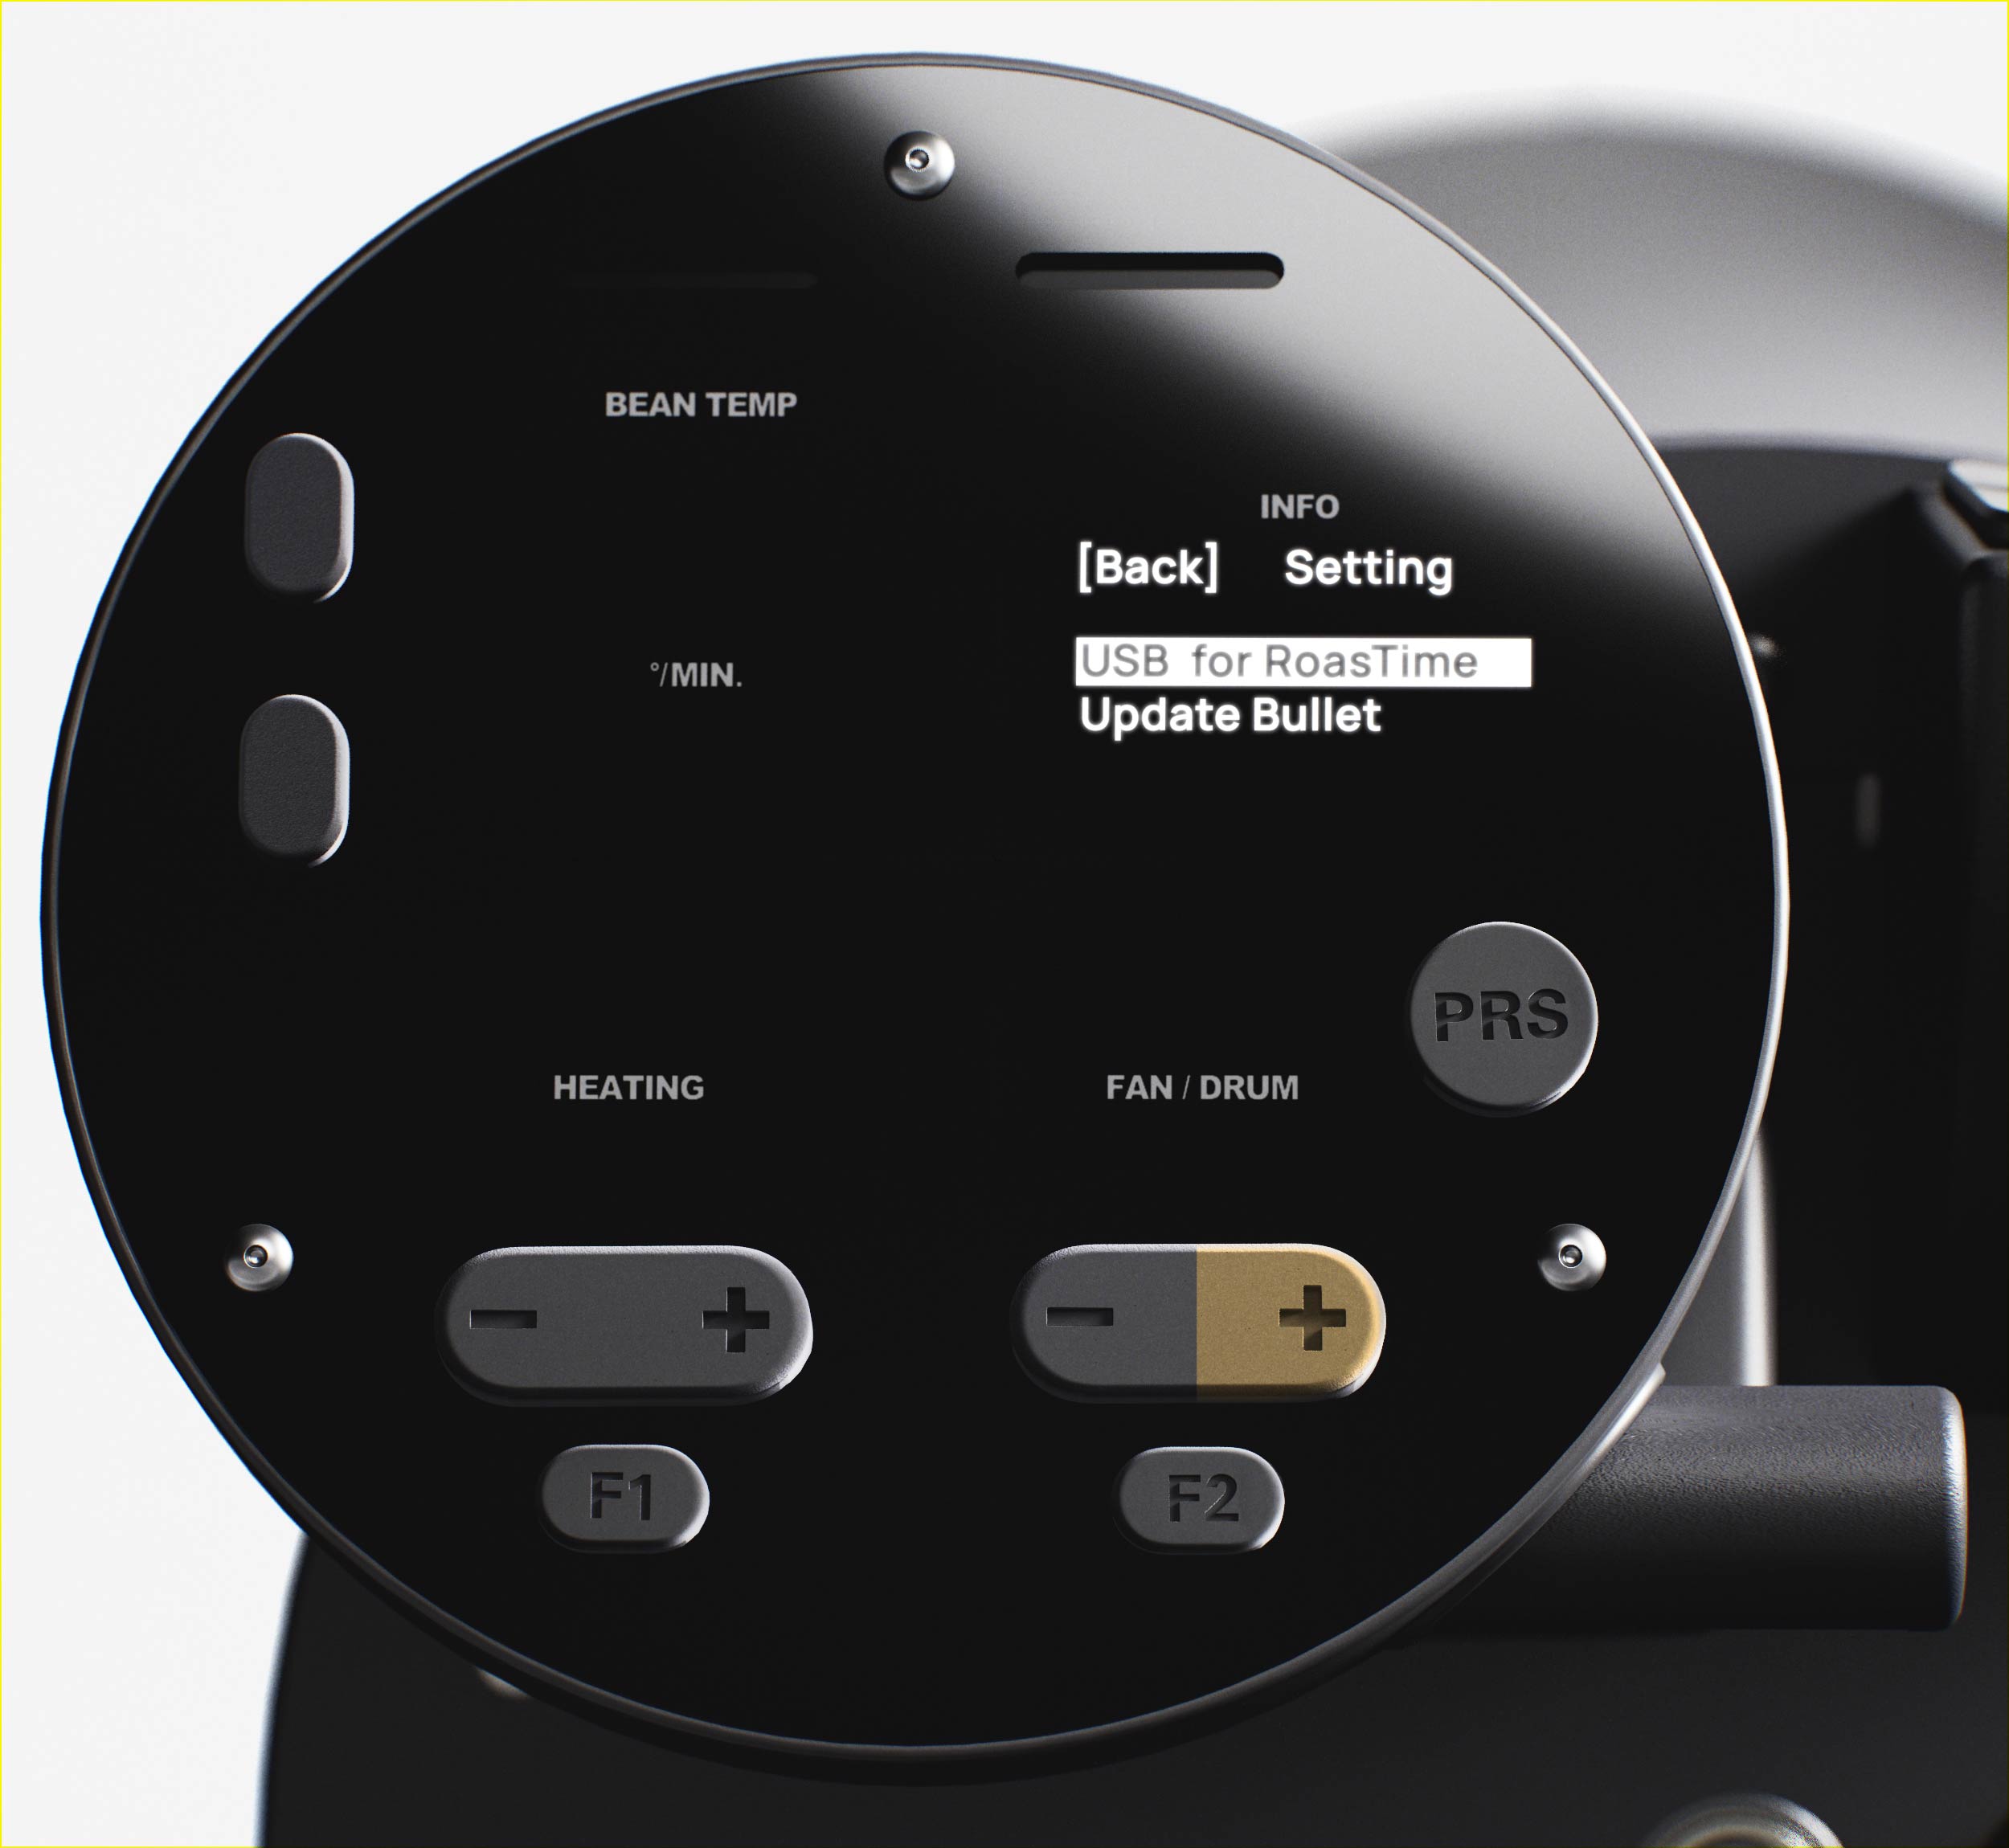
3. Press the Heating +/- Buttons to navigate to the USB Mode tab. Press the Fan/Drum + Button to enter the USB Mode Settings.
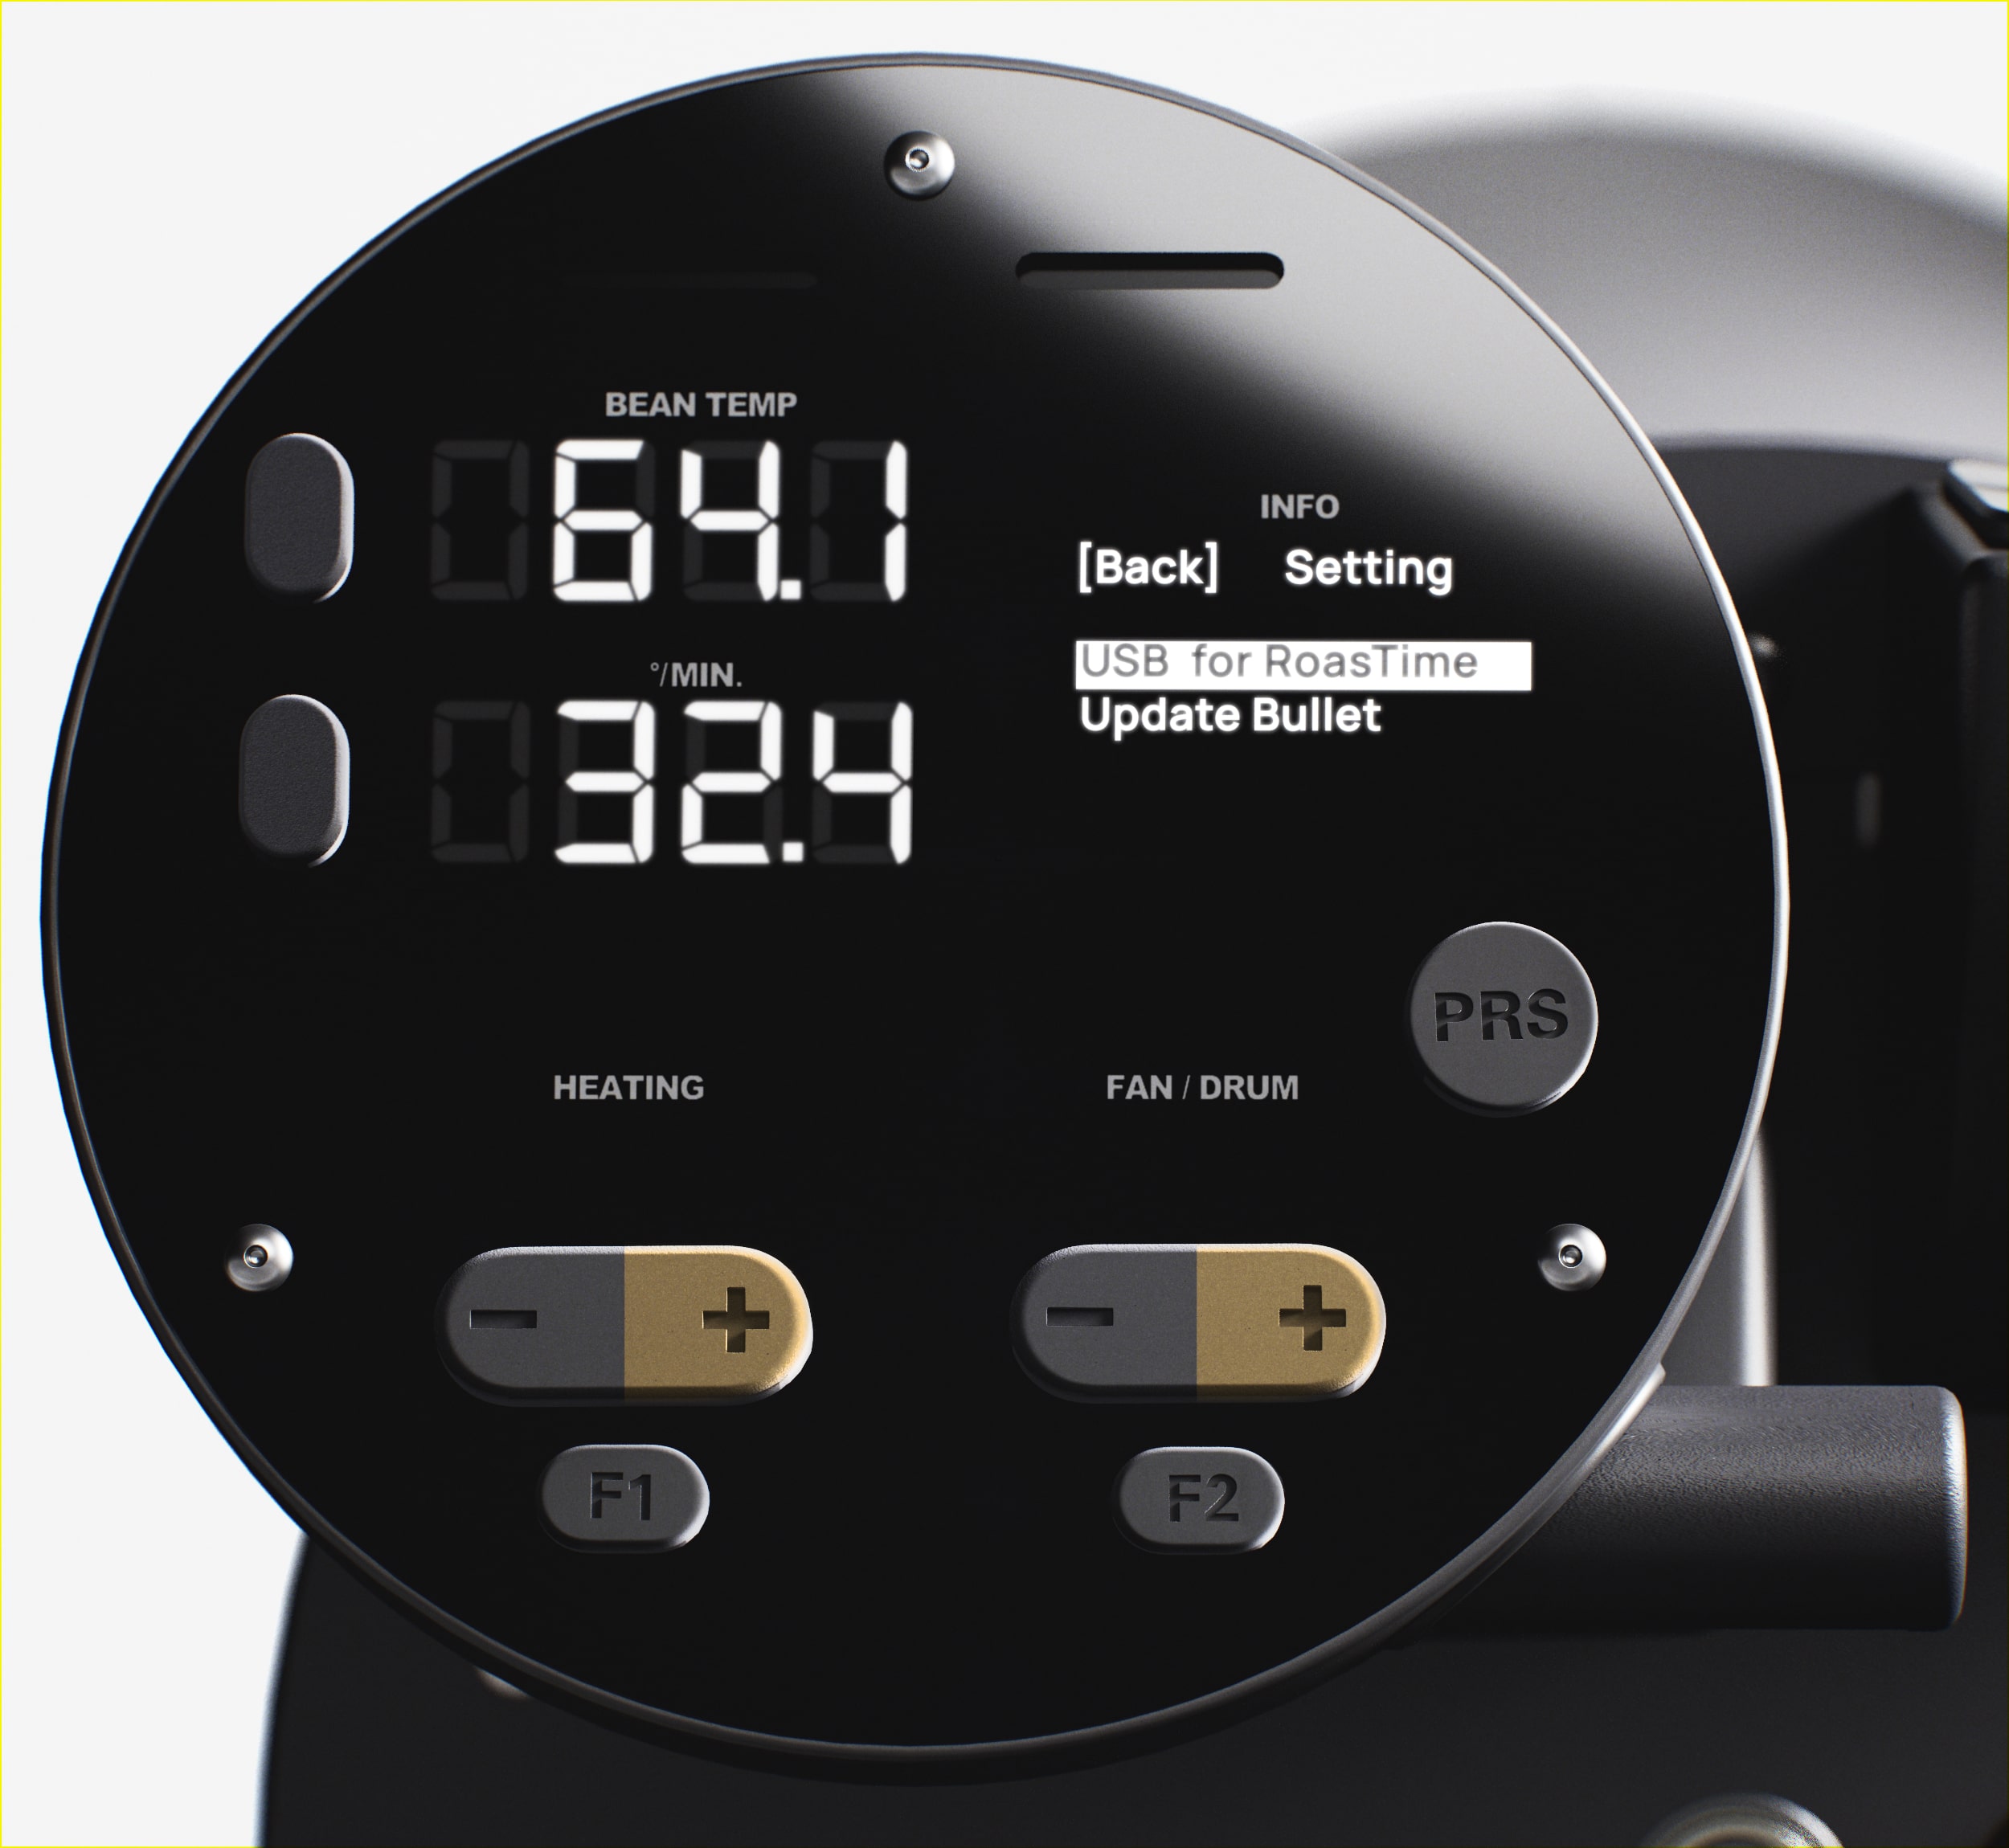
4. On the USB for RoasTime tab, press the Fan/Drum + Button. The text will change to USB for SD Card.

5. Connect the R2 to the computer. The drive should show up in Windows Explorer / Finder. If the window does not appear, reconnect the USB Cable. Copy the file to the Firmware folder on the SD card drive and delete the old one.
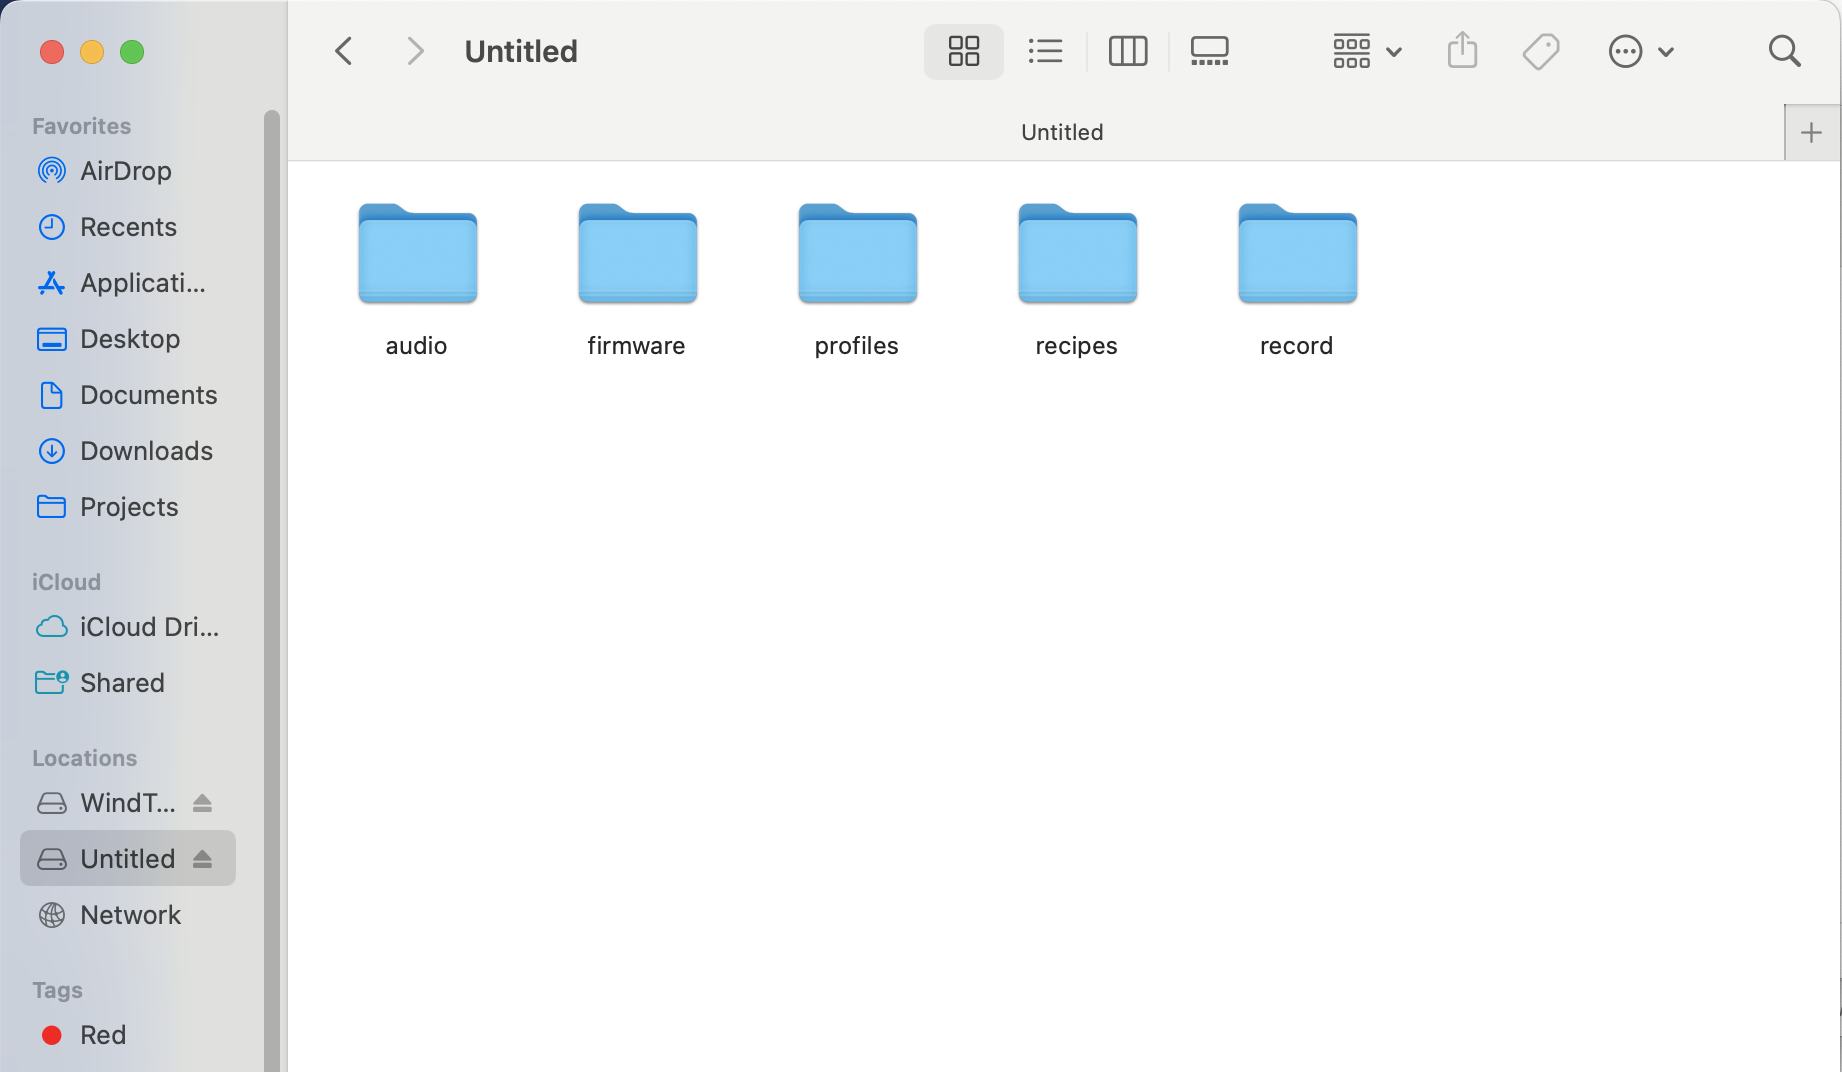
You will see a new drive appear on your computer when the R2 is connected in
USB Mode. The drive will contain a folder named Firmware with a
file named bullet_io.bin. Copy the downloaded firmware file into
the firmware folder, replacing the existing file.
Verify the downloaded firmware file is named bullet_io.bin before
copying it to the SD card.
Do not copy other files into the firmware folder. See the
images below.
If you've downloaded multiple copies, the file might be named
bullet_io (1).bin
or similar. Please rename the file to bullet_io.bin before
proceeding.
Connected R2 drive example on MacOS
 R2 firmware folder contents on MacOS.
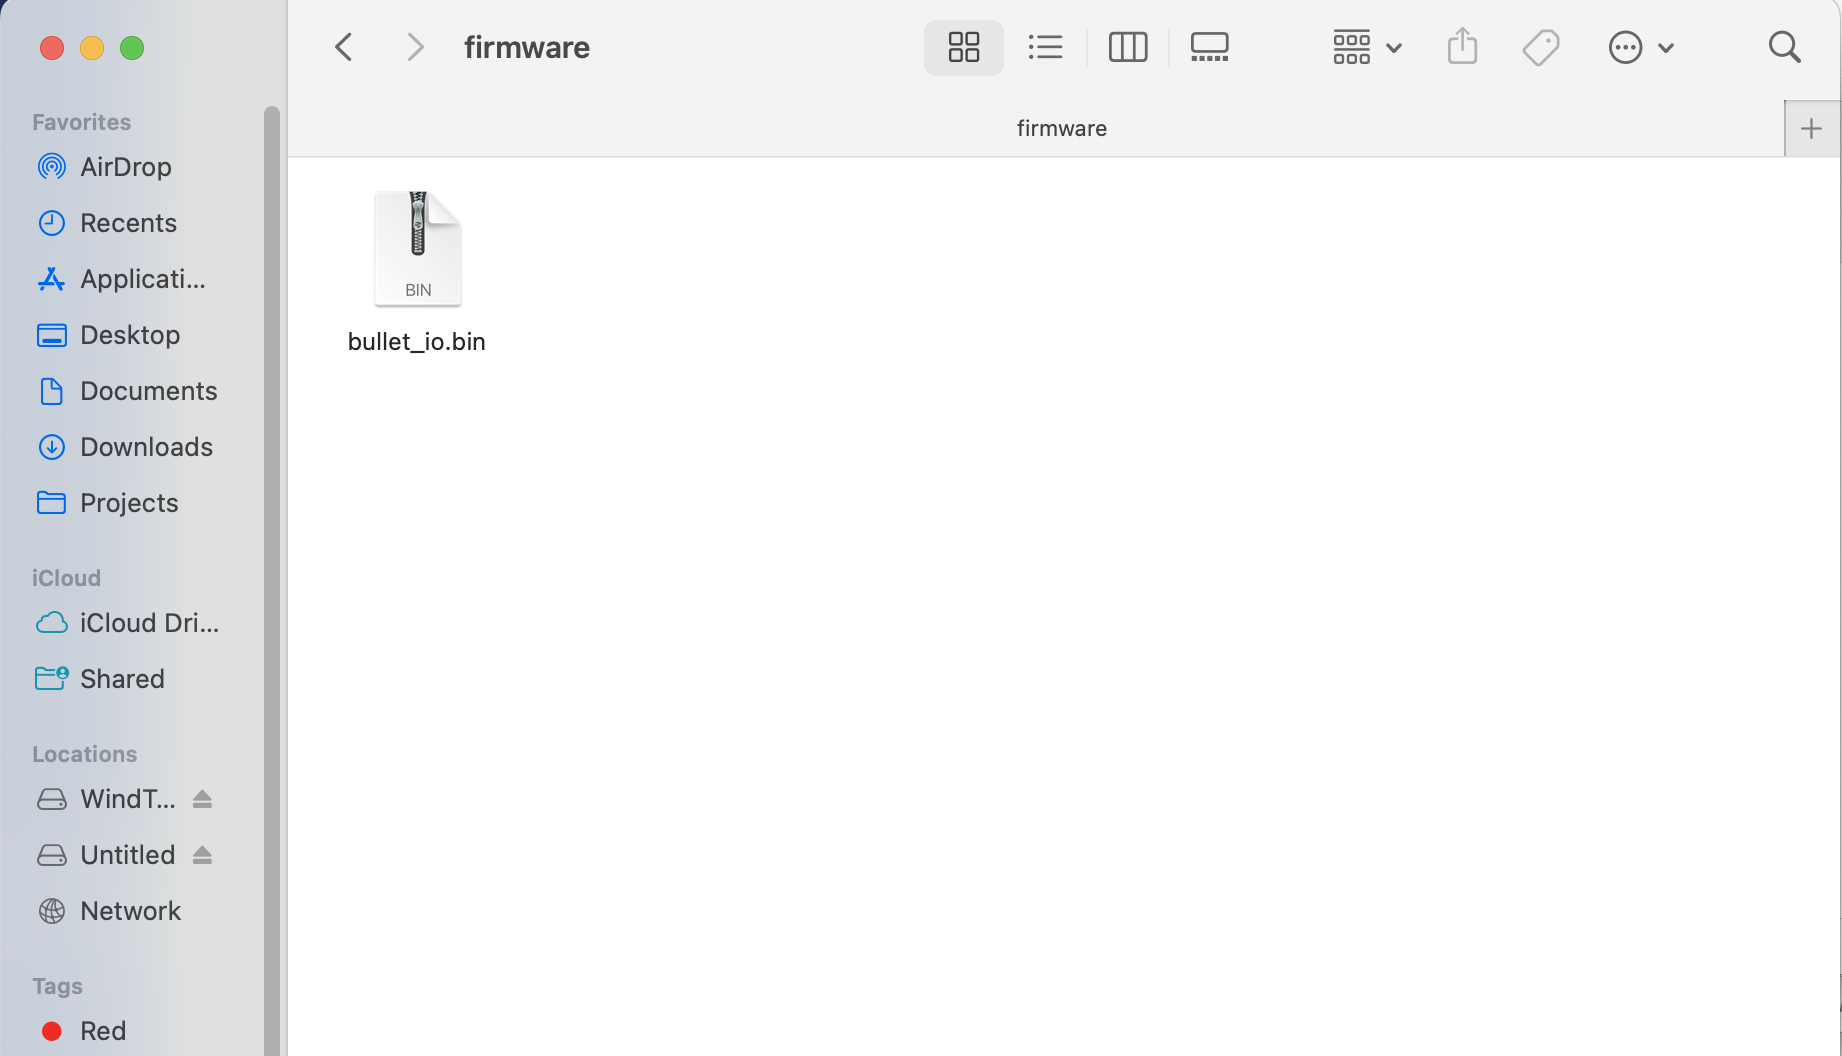 Replace
 bullet_io.bin with the new firmware file you downloaded.
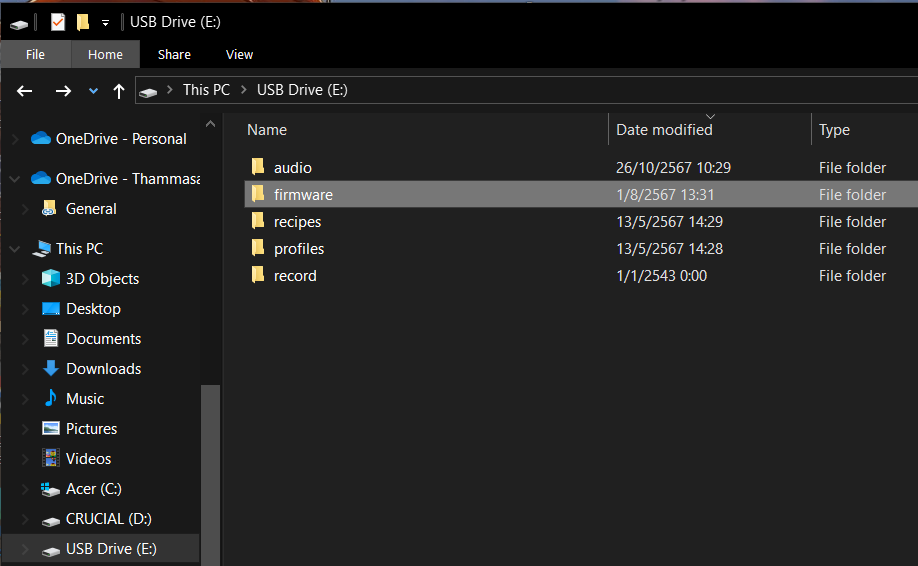
Connected R2 drive in Windows Explorer
 R2 firmware folder contents in Windows Explorer. Replace
 bullet_io.bin with the new firmware file you downloaded.

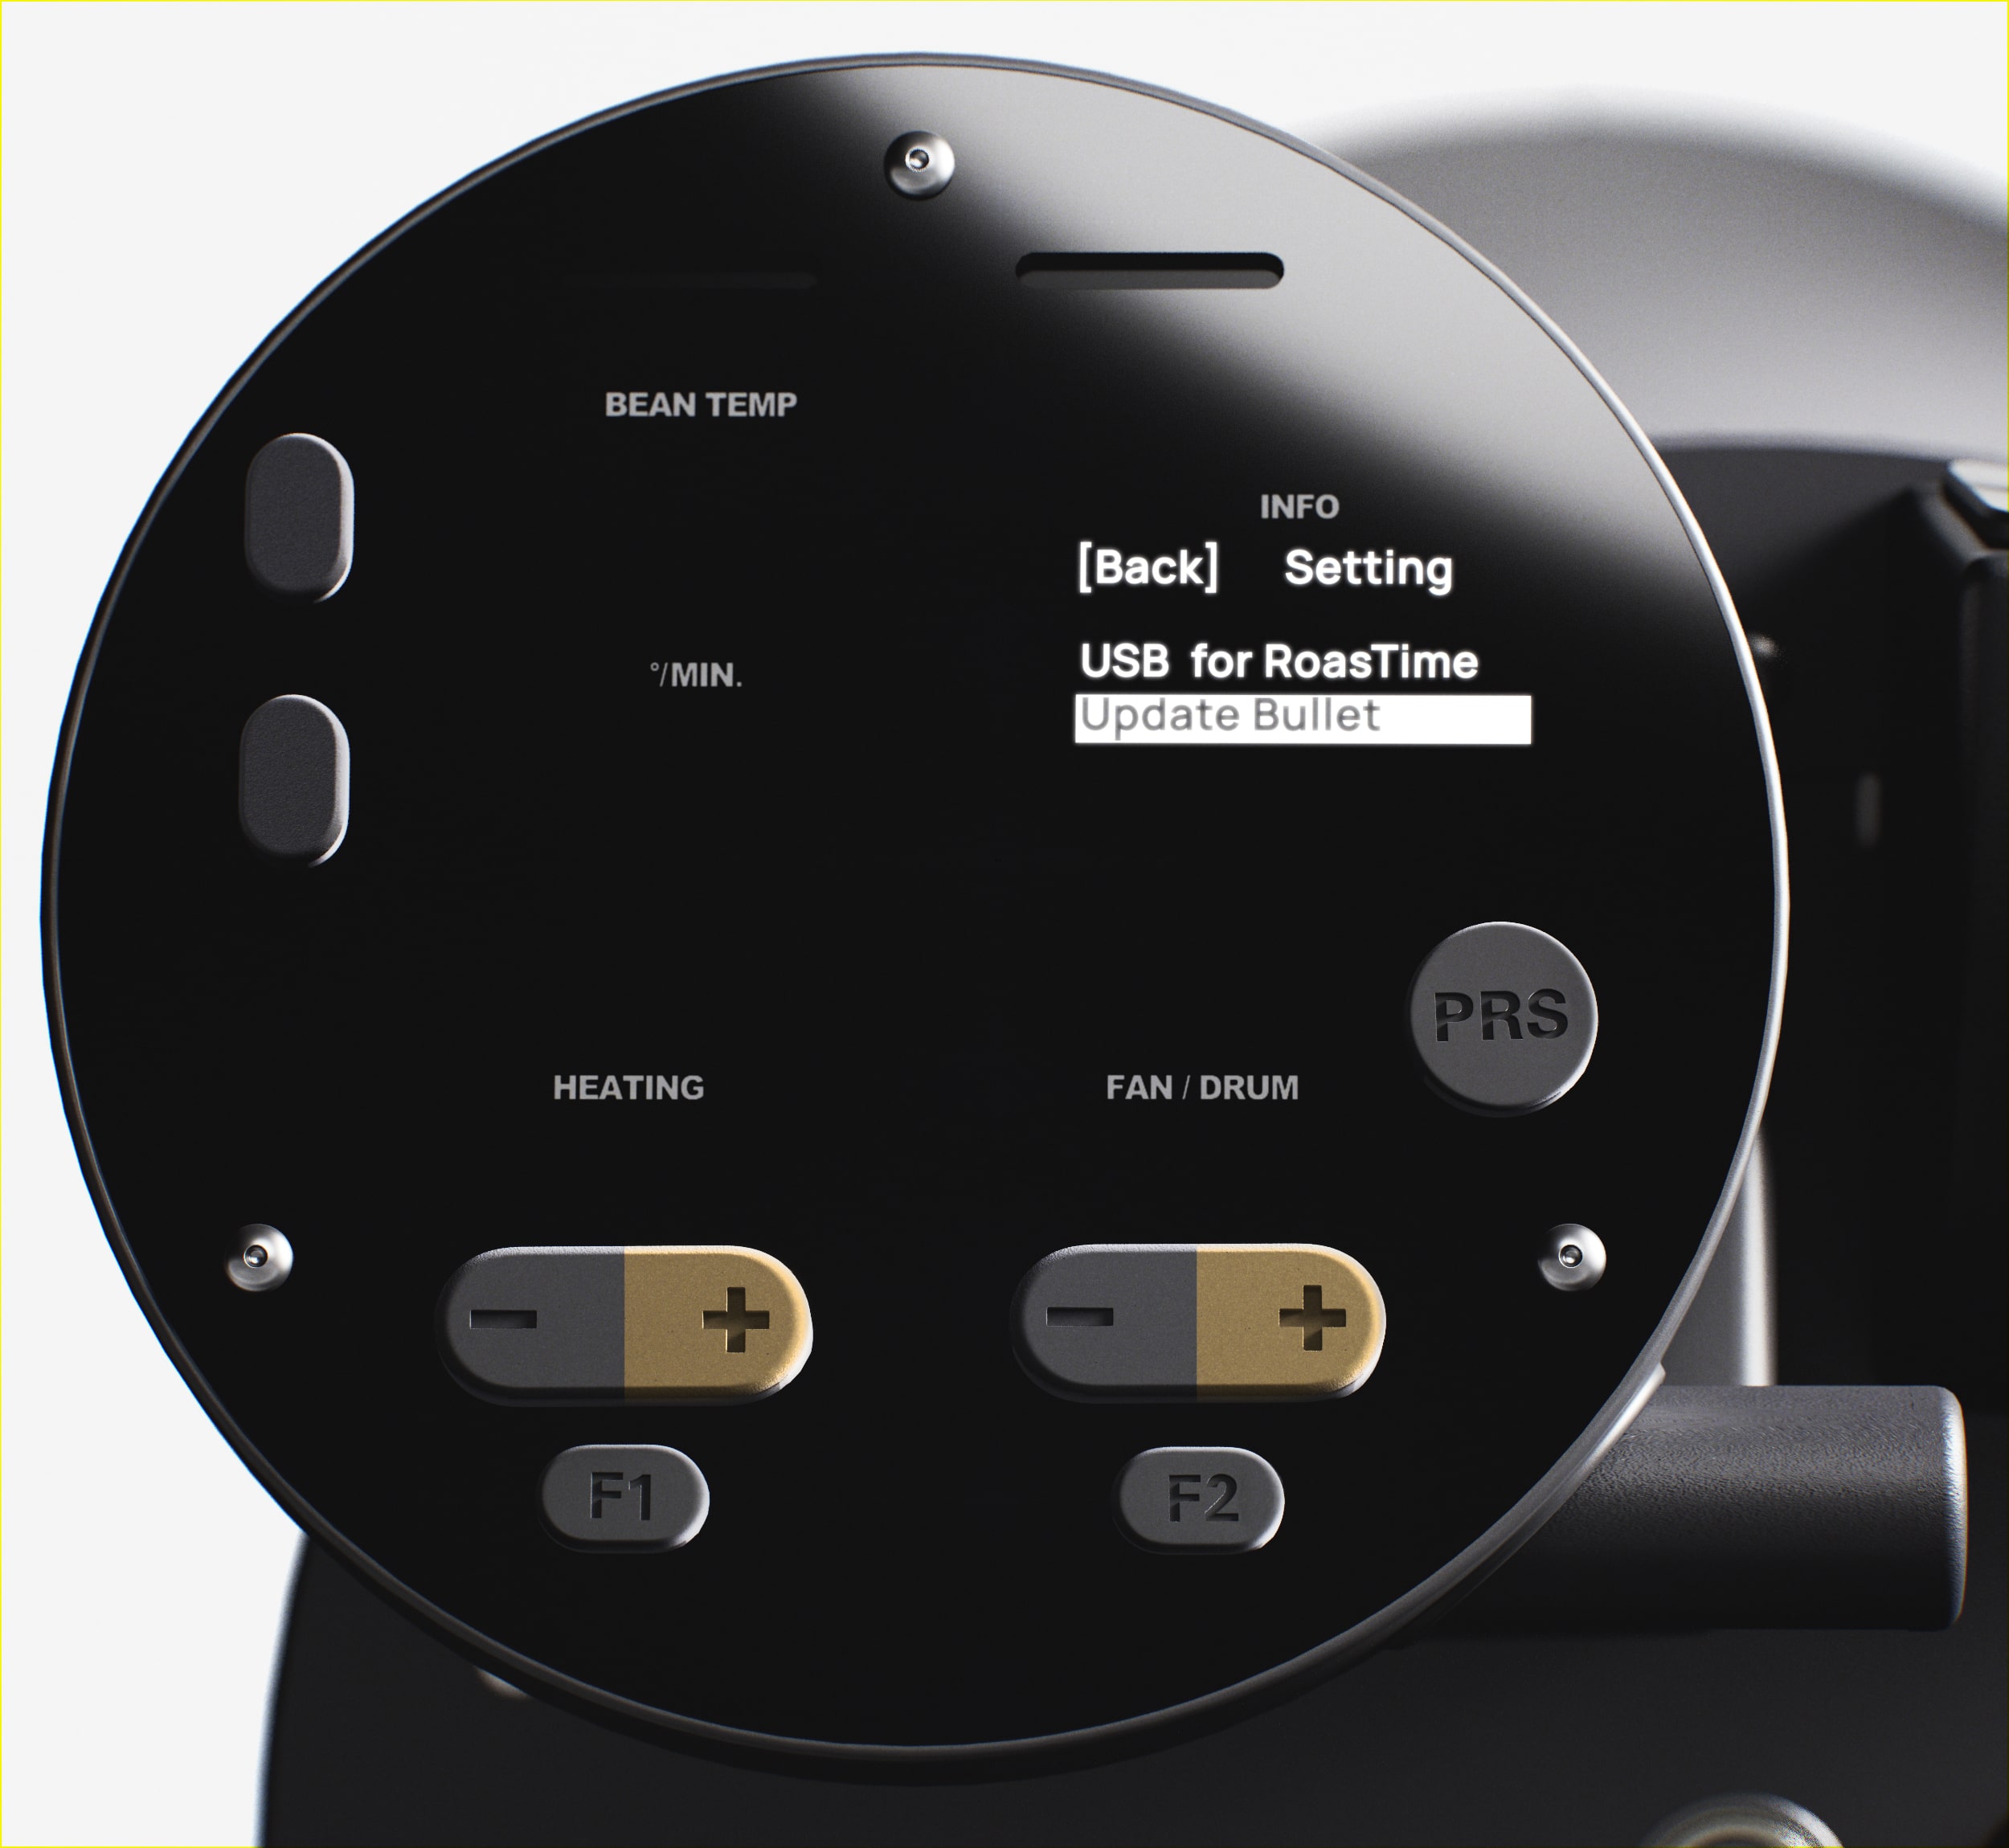
6. Press the Fan/Drum + Button to set the USB Mode back to USB for RoasTime.
7. Press the Heating + Button to navigate to the FW Update tab. Press the Fan/Drum + Button. The screen will flash for a few seconds and then stop. The Firmware is now updated.
8. If the board does not restart, turn off the R2 and turn it back on.
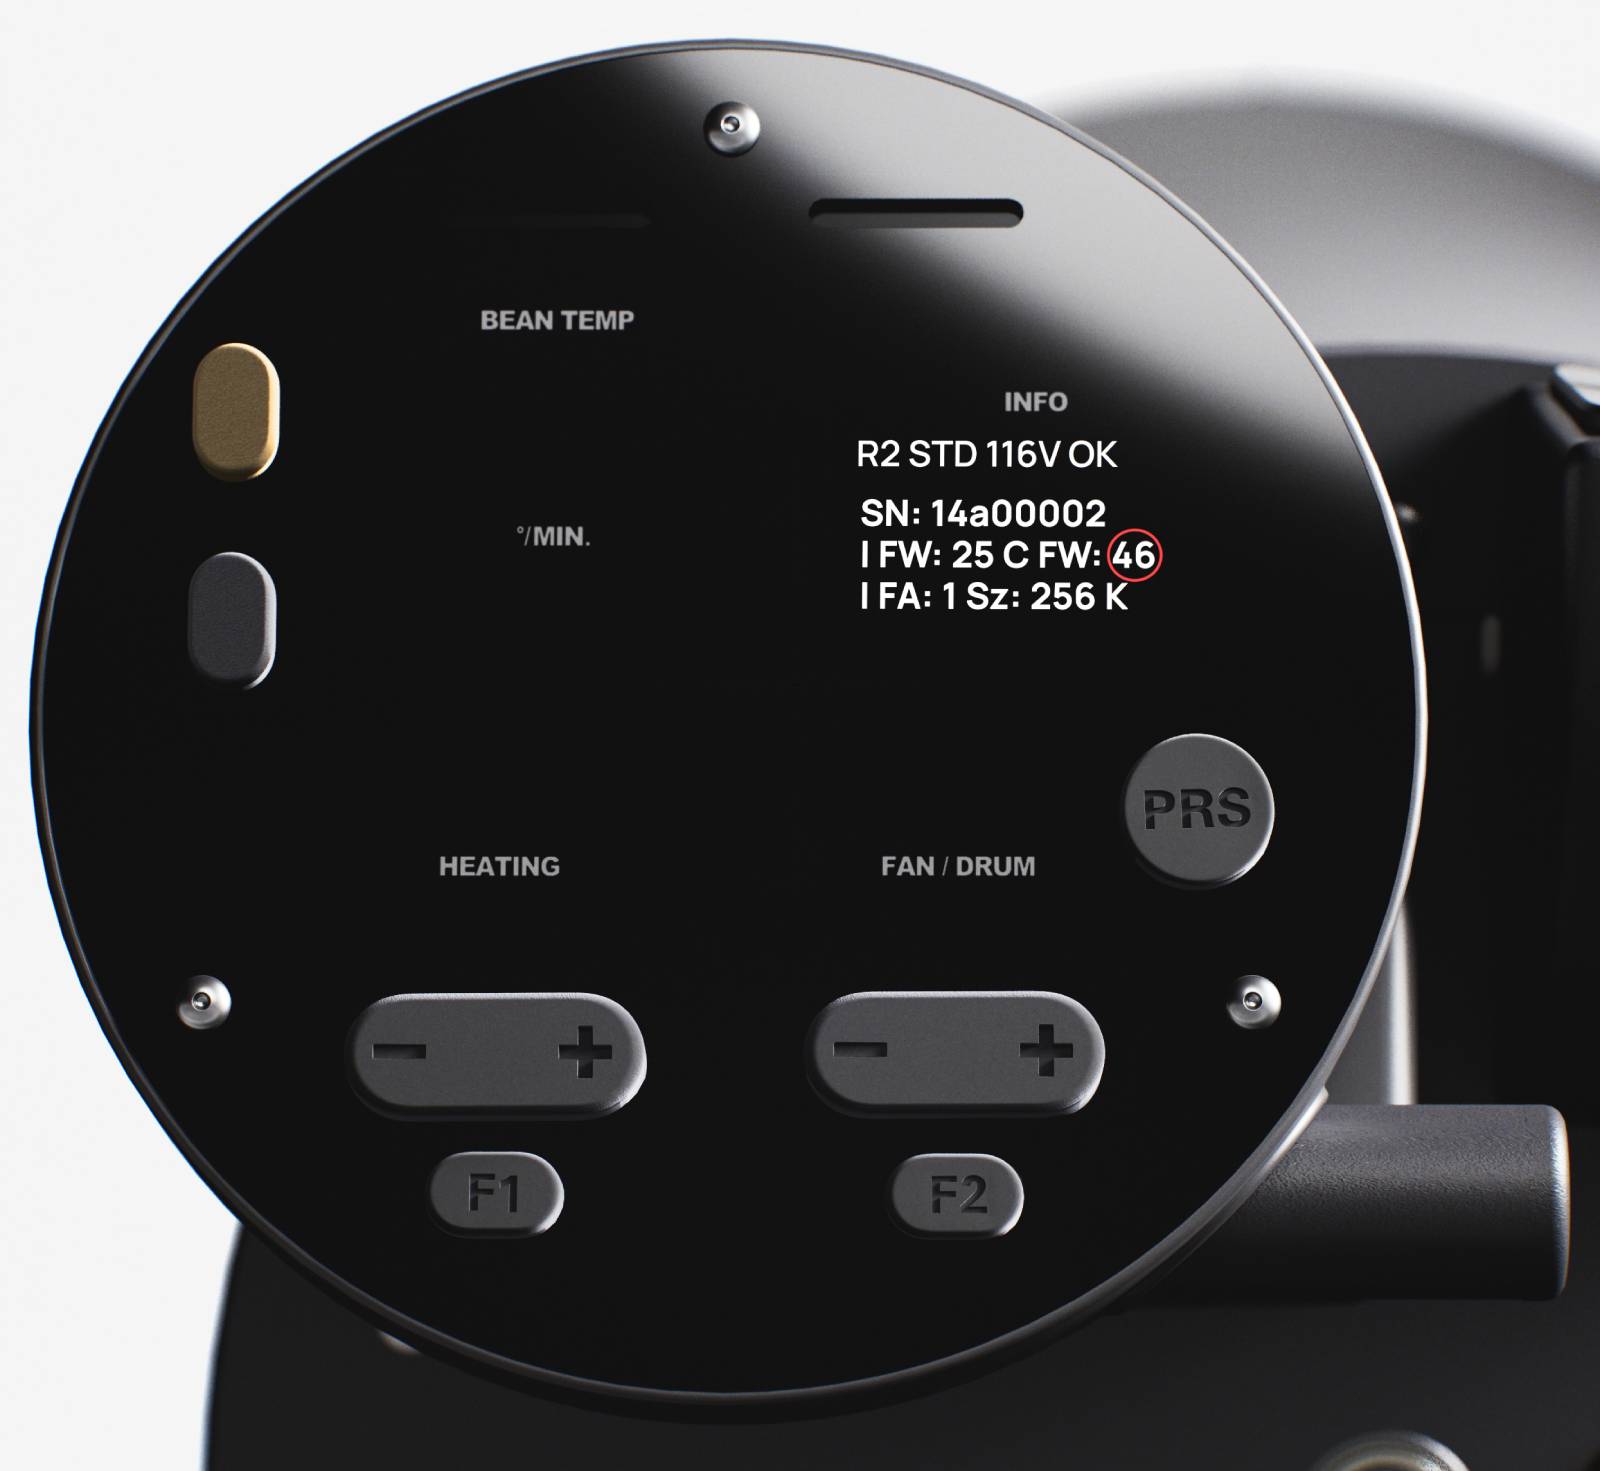
9. Press the Button A in Ready Mode to toggle different Info Display pages and check if the Firmware Version has changed.